Welcome to my first blog post! I’m going to be showing my experience using printmaking techniques for the first time.
Music for your ears!
Materials:
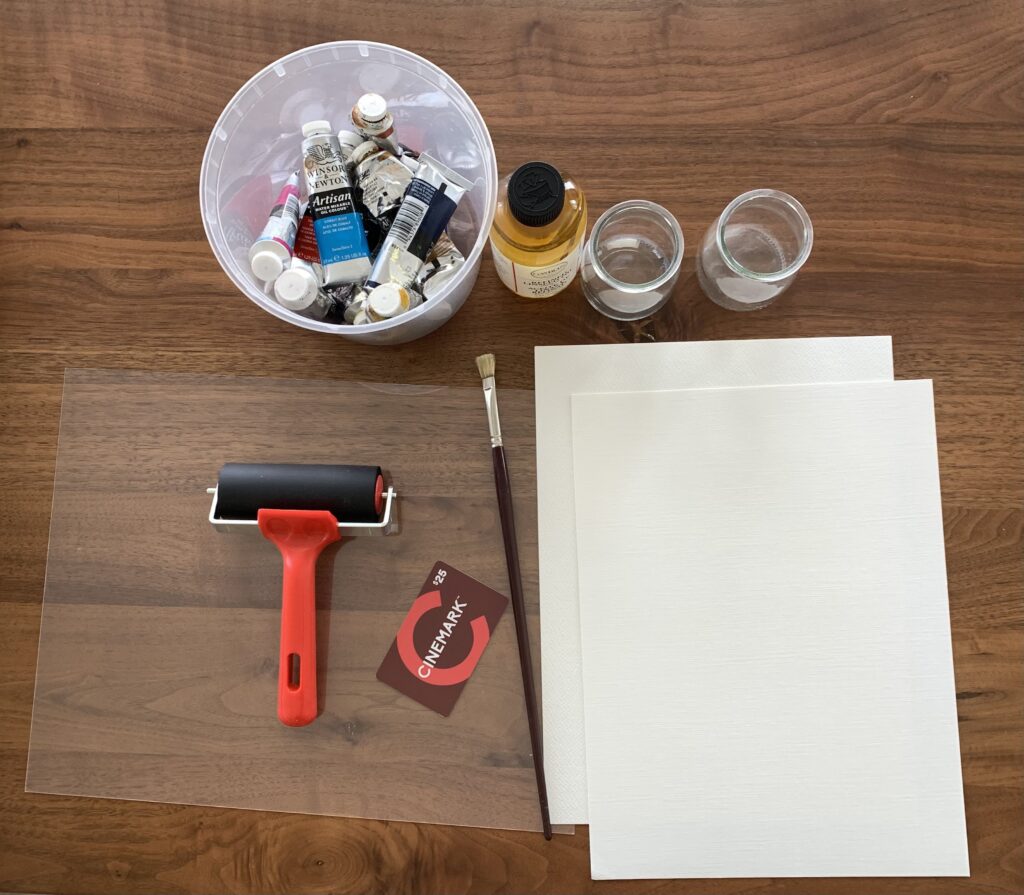
Starting out, I researched the ideal materials. The most basic materials include a printing plate, rubber brayer, and some paint/ink. The most commonly recommended printing plate is the Gelli Arts Gel Printing Plate, however, it can be quite costly. Instead, I settled for a 99 cent acrylic sheet which served its purpose. For rubber brayers, I purchased a Speedball Pop-in Soft Rubber Brayer for $11 which worked excellently and was very easily cleaned. I also picked up a cheap foam brayer from Hobby Lobby for $4 as a back-up (this did have very bad reviews online, but I decided to buy in case I may need an extra). Lastly, I attempted to use oil paints(Winsor & Newton) as a substitute for printmaking ink because it was the only paint I had on hand. I mixed the oil paint with refined linseed oil to achieve a thinner texture.
| Here’s everything I used: | |
| surfaces | Acrylic Sheet |
| Card Stock | |
| Oil Painting Paper (Arches) | |
| tools | Rubber Brayer |
| old gift card, toothpick, cotton bud (for making textures) | |
| mediums | Oil Paints |
| Refined Linseed Oil | |
Note: Printmaking undoubtedly comes with frustrations in the beginning. But I especially made my experience a difficult one by my unconventional choice of paint. I suggest sticking with traditional printmaking ink or acrylic as a starting point. I have yet to retry this process with either of these.
Tip: If you use oil paint on a wooden surface like I did, cover and protect your surface well. Keep the air well circulated.

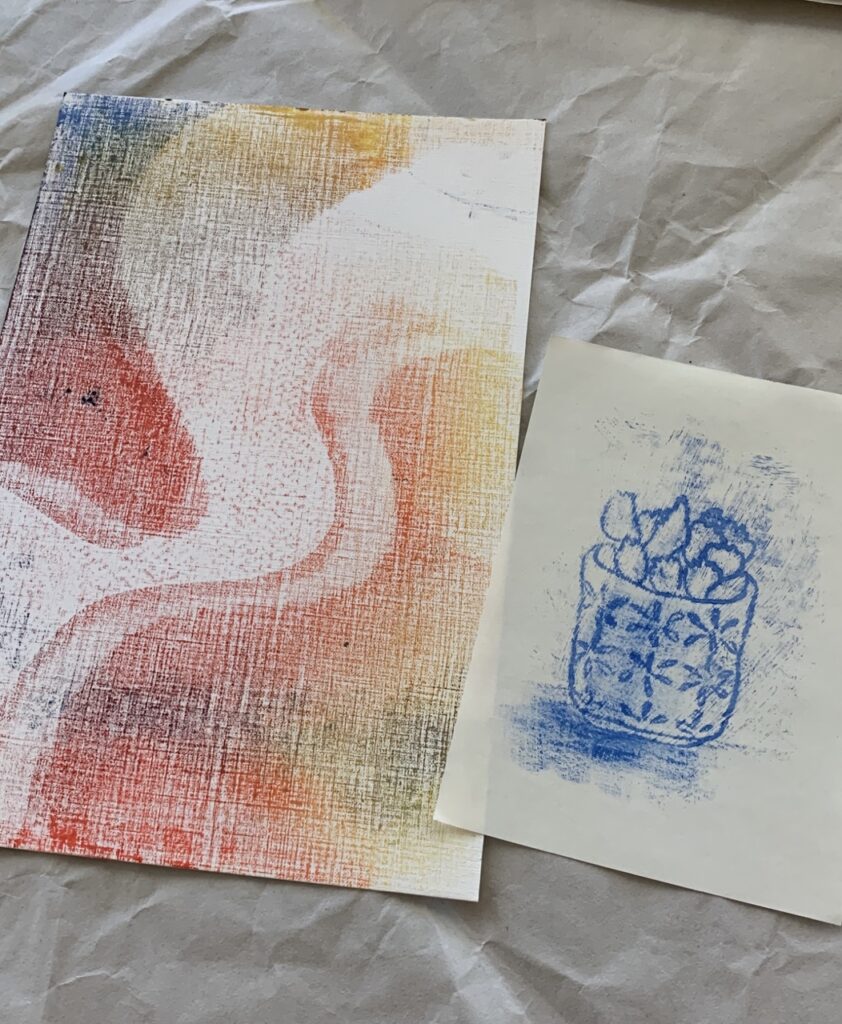
I tried 3 methods of mono printing: 1. additive 2. subtractive 3. using stencils
| surfaces to use | recommended paints | papers to print on |
|---|---|---|
| gelli plate | Acrylic paints | mix-media paper |
| plexiglass | water-based printmaking ink | waterleaf paper |
| ceramic tile | tempera | etching paper |
| tempered glass | gouache | heavy-weight printmaking paper |
Reference the materials I used here.
Check out my next post here!
Tutorial below 👇

